Applies to: All Reolink IP cameras( Reolink E1 Pro& E1 Zoom are included) except for all Reolink battery-powered cameras, Reolink E1, B400, D400, B800, D800, and Reolink Lumus
Note: Accessing through 3-party software is currently not available for Reolink battery-powered cameras for saving battery life.
QNAP can be used for storing recordings of Reolink cameras. You may follow the steps below to add Reolink cameras to QNAP.
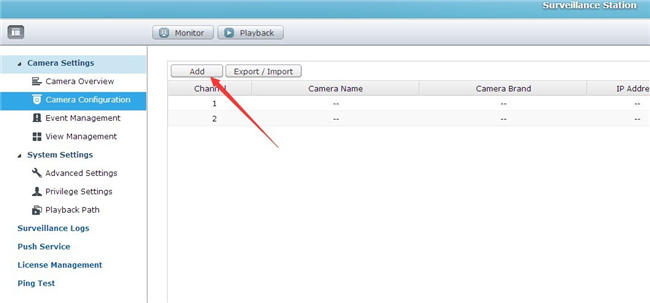
Step 1. Launch QNAP Surveillance Station, go to Camera Settings -> Camera Configuration, and click Add to add new camera.
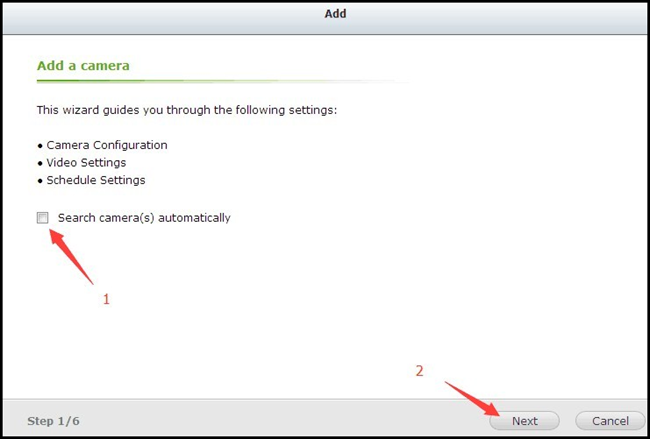
Step 2. Uncheck Search camera(s) automatically, and click Next.
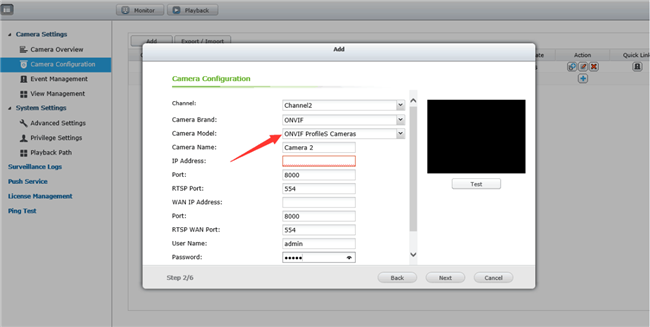
Step 3. Fill in the information required, and click Next.
Note: If you choose ONVIF as Camera Brand, the default Port should be 8000. If you choose Reolink, the default Port should be 80. If you have changed the ports, click to see how to find their current value.
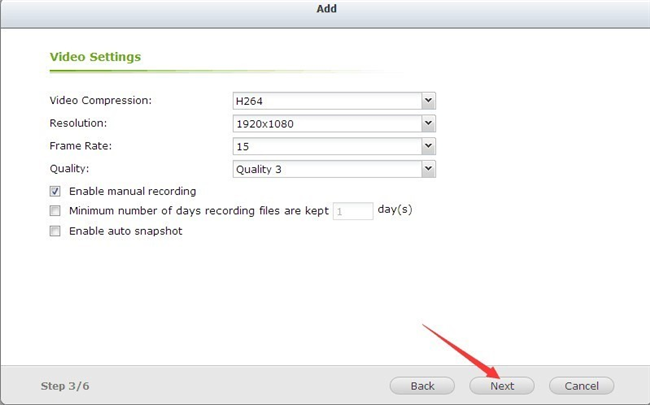
Step 4. Check Enable manual recording and click Next.
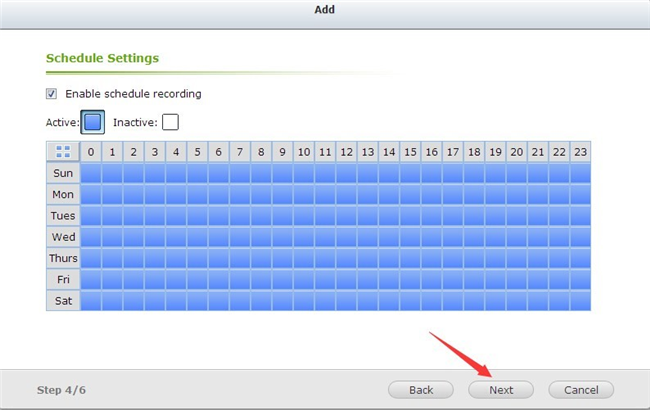
Step 5. Set up the recording schedule and click Next.
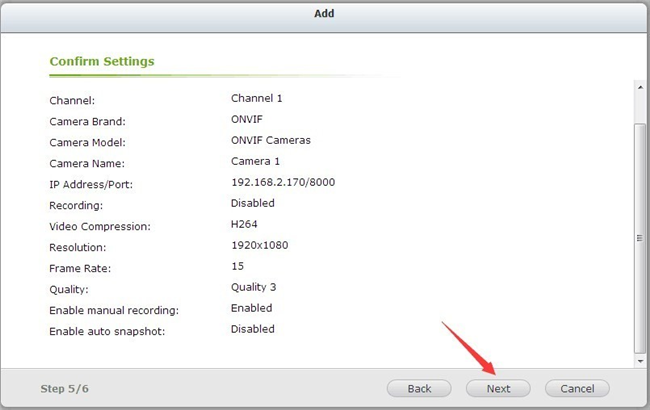
Step 6. Confirm the settings and click Next.
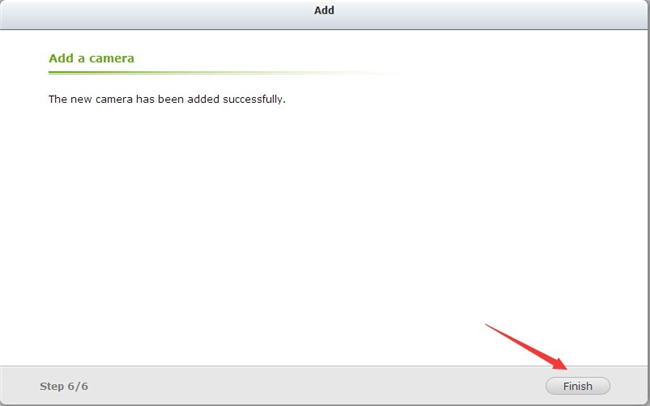
Step 7. Click Finish to complete the process.
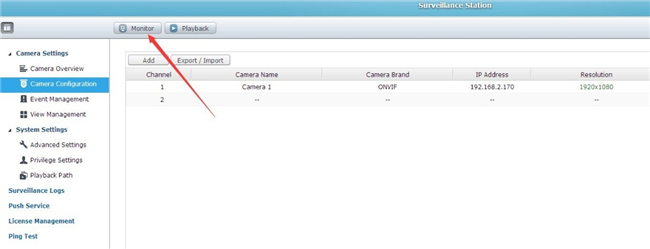
Now you may click Monitor to live view the camera.