
Applies to: All Reolink WiFi cameras
If you have already connected your cameras with the WiFi of a router and you want to change the WiFi password, then you may follow the steps below to avoid losing WiFi connection when changing the password.
Step 1: Change the SSID and password on the camera to the new parameters before changing it on the router.
1. Launch Reolink Client on your computer and log into the camera.
2. Go to Settings -> Network Settings page, then click on WiFi Settings icon.
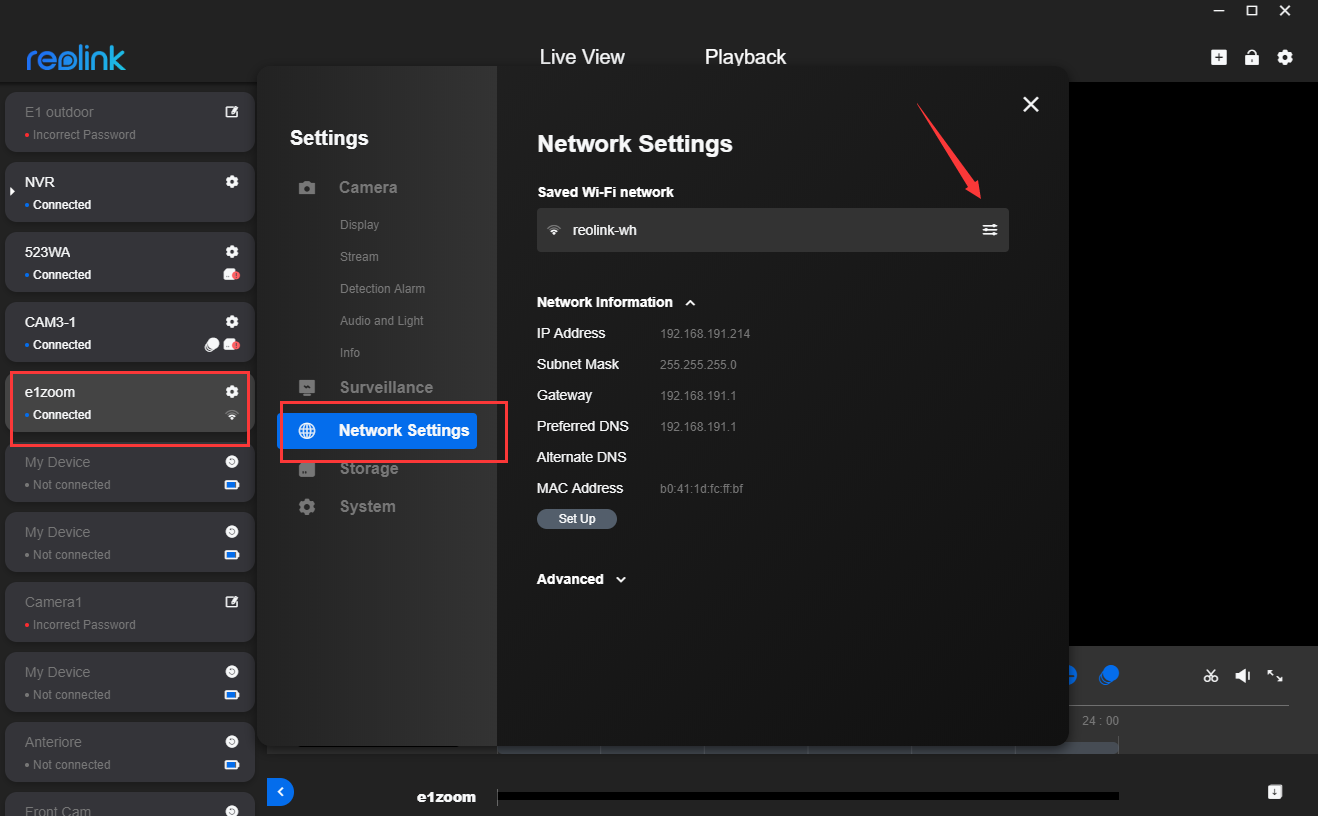
3. Manually type in the new SSID and Password, then click Connect to save the settings.

- You have only ONE CHANCE to input the right SSID and password. If it fails, the IP camera will disconnect and you have to connect the camera with the router via a cable again.
- The IP camera will fail to connect to the router after you set the new SSID and password for it, which is normal as the new parameters don't fit the current router settings (The settings will fit the router after you set the corresponding settings on the router).
Step 2: Log in to the web interface of your router, then go to Wi-Fi Settings page and change the router’s SSID and password to the parameters you have set for the IP camera.
The camera will reconnect to the router soon after you successfully set the new settings for the router.
Note: If you have already set up new SSID and password for the router and the camera is disconnected from the WiFi, you may change the SSID and password to the old parameters which are the same as the ones on the camera referring to Step 2. Wait for the camera to reconnect to the router, then follow the steps above to change the password again if necessary.